
Additionally, trim any vegetation that may be encroaching on the fence to prevent damage. By staying proactive with maintenance, you can extend the life of your stained fence and keep your property looking well-maintained for years to come.
Achieving a professionally stained fence through a do-it-yourself approach requires more than just a can of stain and a brush. To transform your outdoor space with a flawless finish, understanding the nuances of fence staining is crucial.
From the meticulous prep work to selecting the appropriate stain for your specific needs, there are expert tips that can elevate your DIY project to a level of sophistication that rivals professional services.
Let's explore the strategic steps and insider insights that can make all the difference in creating a stunningly stained fence that stands the test of time.
Thorough surface cleaning and repair are essential steps to ensure a successful fence staining project. Before beginning the staining process, it is crucial to inspect the fence for any damage, such as cracks, rot, or loose boards.
Addressing these issues beforehand will not only improve the overall appearance of the fence but also prevent further deterioration. Cleaning the surface is equally important, as dirt, mold, and mildew can prevent the stain from properly adhering to the wood.
Using a pressure washer or a stiff brush with a cleaning solution can effectively remove these contaminants. By dedicating time to prep work, you can significantly enhance the results of your DIY fence staining project.
When considering the tools and equipment needed for your DIY fence staining project, it is essential to ensure you have the necessary items to effectively apply the chosen stain.
The basic tools required include a high-quality paintbrush or a paint sprayer for larger projects. Additionally, you will need a paint roller with an extension handle for accessibility to higher areas of the fence. Other essential items include a drop cloth to protect the ground, painter's tape to mask off areas you don't want to stain, and a stir stick to thoroughly mix the stain before application.

Finally, gloves and safety goggles are crucial for personal protection during the staining process. Having these tools ready will help you achieve a successful and professional-looking finish on your fence.
Considering the weather conditions and timing is crucial in ensuring the success of your DIY fence staining project. Optimal weather conditions for fence staining generally include temperatures between 50-90°F, low humidity levels, and minimal wind.
Staining your fence on a dry day is essential to allow the stain to properly adhere and dry evenly. Avoid staining your fence in direct sunlight to prevent the stain from drying too quickly and potentially leading to an uneven finish.
Additionally, it's important to check the weather forecast to ensure no rain is expected for at least 24-48 hours after staining to prevent any damage to the newly applied finish. Planning your staining project during suitable weather conditions will help you achieve professional-looking results.
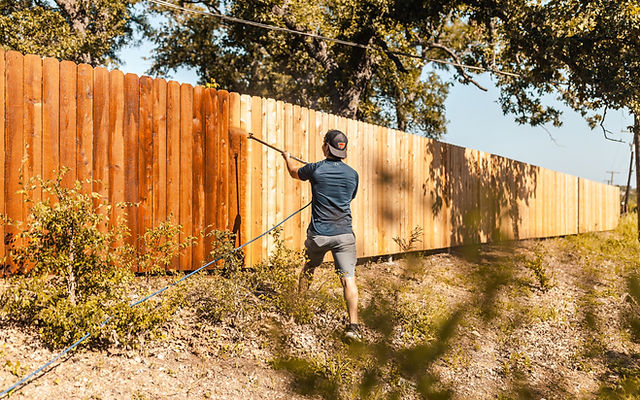
Achieving a uniform coat of stain on your fence requires mastering the technique of consistent application. To ensure an even finish, start by using a high-quality brush or sprayer designed for fence staining.
Begin at the top of the fence and work your way down in smooth, overlapping strokes. Maintain a steady hand and a consistent distance from the surface to avoid drips or uneven coverage. Pay special attention to corners, edges, and hard-to-reach areas to prevent blotches or missed spots.
Work in manageable sections to prevent the stain from drying too quickly, which can lead to lap marks. By following these application techniques diligently, you can achieve a professional-looking, evenly stained fence that enhances the overall aesthetic of your property.
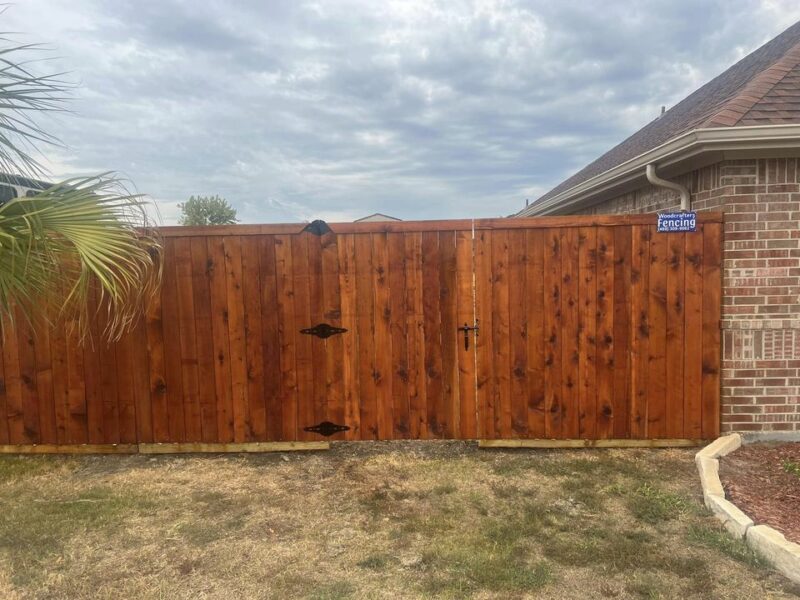
To ensure the longevity and vibrancy of your newly stained fence, proper maintenance is essential following the meticulous application techniques outlined earlier.
Regularly inspect your fence for any signs of wear, such as peeling or fading stain, and address these issues promptly to prevent further damage. Clean your stained fence annually with a gentle detergent and water to remove dirt, grime, and mildew that can compromise the finish.
Additionally, consider applying a fresh coat of stain every 2-3 years to maintain its protective barrier and aesthetic appeal. By staying proactive in caring for your stained fence, you can enjoy its beauty and protection for years to come.
How can you effectively address common issues that may arise with your stained fence? One common issue is uneven staining, which can be resolved by ensuring thorough cleaning and proper application techniques.
If you notice peeling or flaking, it might be due to inadequate surface preparation or low-quality stain; in such cases, sanding and reapplying the stain can help. Fading or discoloration could be caused by exposure to harsh sunlight, prompting the need for UV-resistant stains and regular maintenance.
Fence staining can be done on various types of fences, including wood, metal, and vinyl. While wood is the most common material for staining, metal and vinyl fences can also benefit from staining to enhance their appearance and provide protection against the elements. It is essential to choose the appropriate type of stain for each material to ensure optimal results and longevity of the fence.
Once you have completed staining your fence, it is advisable to wait at least 24-48 hours before allowing pets or children near the area. This timeframe allows the stain to properly dry and set, reducing the risk of it transferring onto clothing or skin. Additionally, ensure adequate ventilation during the drying process to dissipate any lingering fumes. Prioritize safety by restricting access until the stain has fully cured.
Applying a primer before staining a fence is not always necessary, but it can provide additional benefits. Primers can help improve adhesion, enhance color uniformity, and increase the durability of the stain. Additionally, using a primer can help seal the wood and provide a smoother surface for the stain to adhere to, resulting in a more professional finish. Consider the condition of the fence, the type of wood, and the desired outcome when deciding whether to use a primer.